Comprehensive Guide to Repairing Pool Plaster: Keep Your Pool in Pristine Condition
The beauty of a well-maintained pool is undeniable, serving as a centerpiece for relaxation and entertainment. However, deterioration can occur over time, especially in the plaster that lines the pool. If you're an owner of a swimming pool, understanding how to effectively repair plaster in pool areas can save you both time and money. This guide will delve into everything you need to know about pool plaster repair, ensuring your pool remains a stunning oasis.
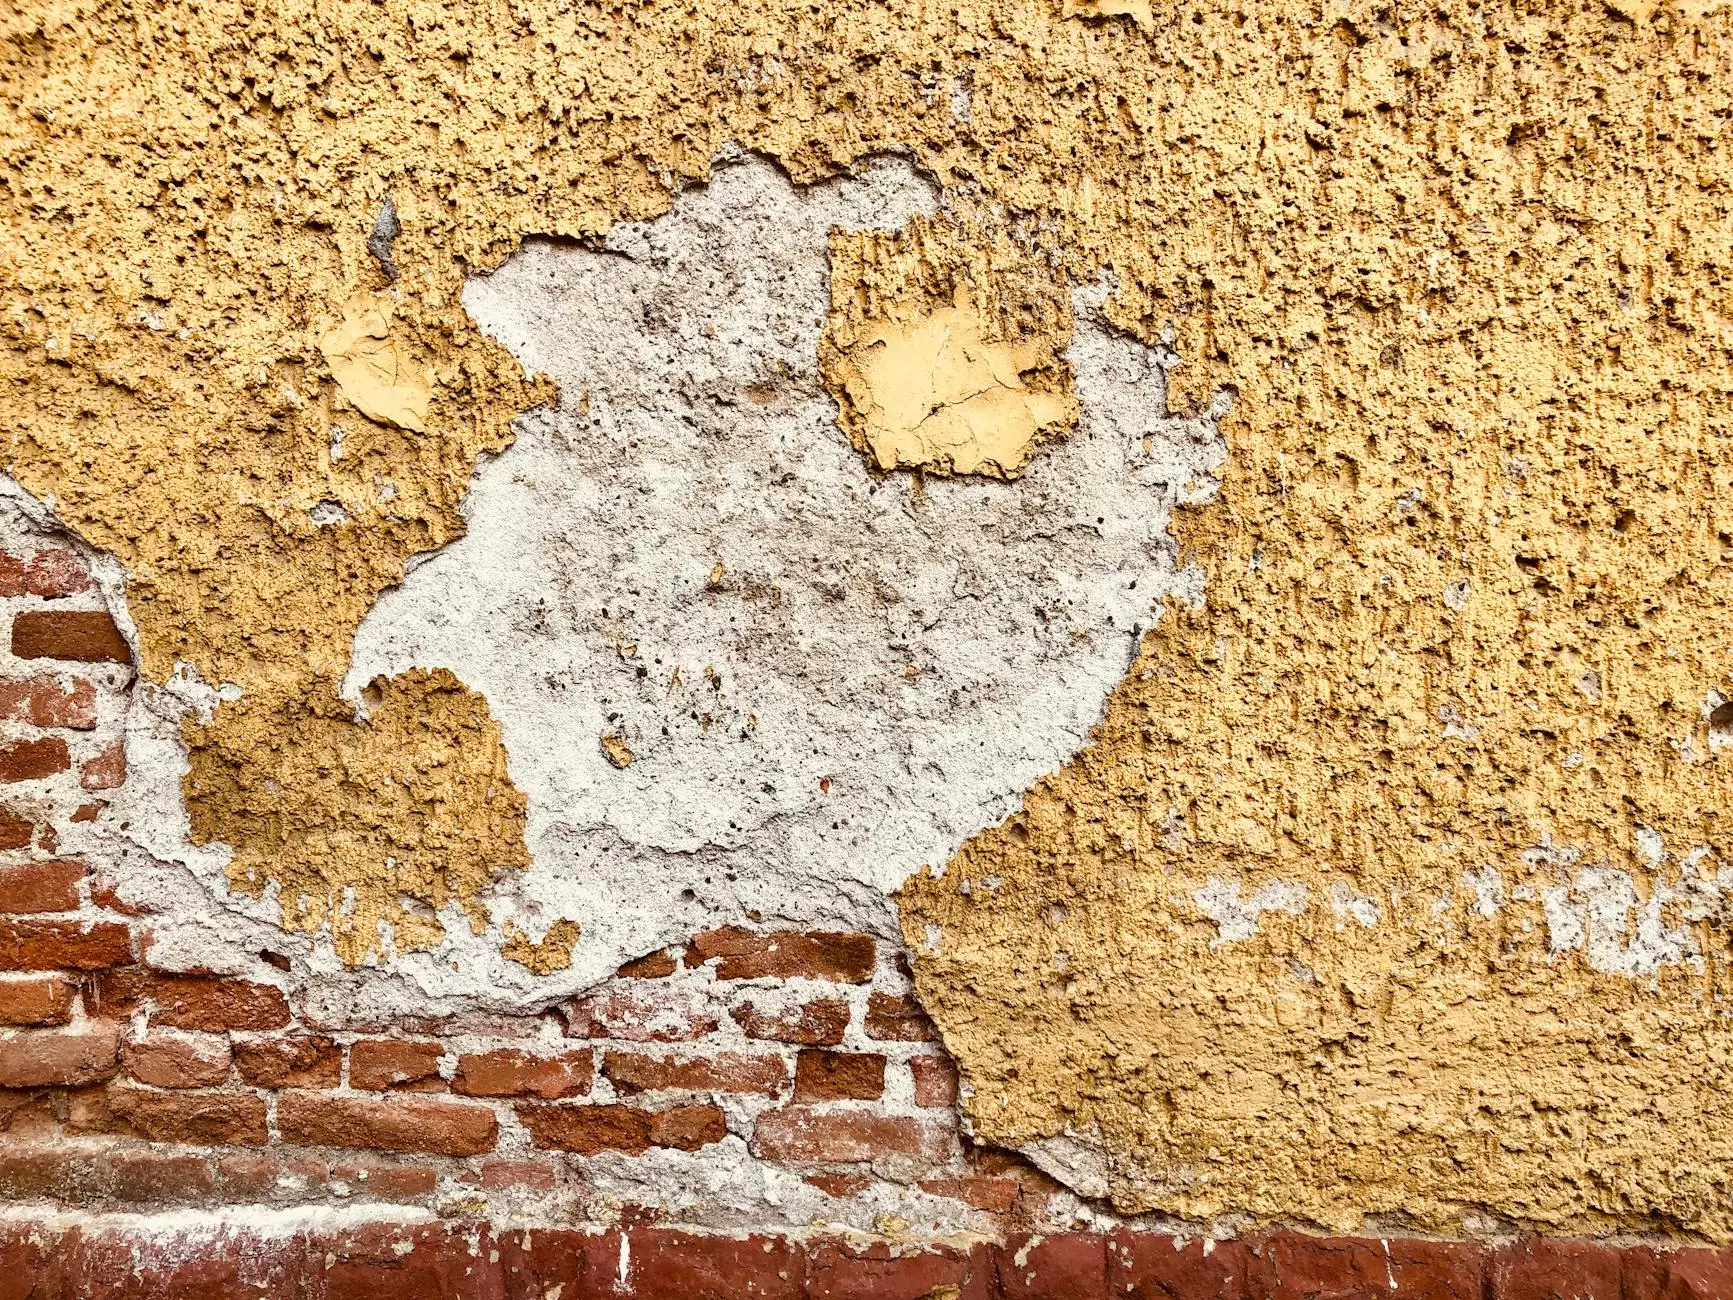
Understanding Pool Plaster
Pool plaster is a mixture of cement, sand, and water that provides a smooth and attractive finish to the interior of the pool. While it's designed to be durable, it is subject to various forms of damage over the years due to factors such as:
- Chemical Imbalance: Improper pH and chlorine levels can eat away at the plaster.
- Water Freeze and Thaw Cycles: Cold climates can create cracks as water expands when frozen.
- Wear and Tear: Everyday use, including kids splashing around and the use of pool cleaning tools, can lead to physical damage.
Signs Your Pool Plaster Needs Repair
Recognizing the signs that your pool plaster needs attention is crucial. Here are some common indicators:
- Cracks: Visible cracks running along the surface that may worsen over time.
- Chalking: A chalky residue that can be felt when rubbing your fingers on the plaster.
- Stains: Brown or green stains indicating algae buildup or chemical reactions.
- Rough Surface: A smooth surface that has become rough can indicate plaster wear.
Benefits of Repairing Pool Plaster
Investing your time and resources in repairing plaster in pool areas brings numerous benefits:
- Enhances Aesthetic Appeal: Smooth and well-maintained plaster can significantly uplift the overall look of your pool.
- Prevents Further Damage: Addressing minor issues promptly prevents costly repairs later.
- Increases Longevity: Regular maintenance can extend the lifespan of your pool plaster, reducing the frequency of complete resurfacing.
- Improves Safety: Smooth plaster reduces the risk of scratches and injuries for swimmers.
DIY vs. Professional Help: What You Need to Know
When it comes to repair plaster in pool projects, you might be contemplating whether to tackle the repairs yourself or hire a professional. Here are some considerations:
DIY Repair Advantages
- Cost Savings: Doing it yourself eliminates labor costs.
- Learning Experience: You'll gain valuable knowledge about pool maintenance.
- Flexibility: You can work on your schedule.
When to Call a Professional
- Extent of Damage: For significant cracks or extensive surface wear, a professional is recommended.
- Technical Know-How: Professionals have experience and specialized tools that can ensure quality results.
- Long-Term Solutions: They can provide warranties on their work and long-lasting solutions.
How to Repair Pool Plaster: A Step-by-Step Guide
If you choose to undertake the repairs yourself, follow this comprehensive guide:
Materials You Will Need
- Pool plaster mixture: Available at most pool supply stores.
- Bonding agent: Essential for proper adhesion of the new plaster.
- Concrete grinder: To prepare the damaged area.
- Float trowel: For applying the plaster smoothly.
- Bucket and mixing paddle: For mixing the plaster.
- Safety gear: Gloves, goggles, and dust mask for protection.
Step-by-Step Repair Process
Follow these steps to ensure a successful plaster repair:
1. Assess the Damage
Inspect thoroughly to determine the extent of the damage. This includes checking for cracks, rough spots, and any areas that are flaking.
2. Prepare the Area
Use a concrete grinder to remove any loose material around the damaged areas. Make sure to create clean edges for better adhesion.
3. Clean the Surface
Wash the area thoroughly to remove dust and debris. Allow it to dry completely before proceeding.
4. Apply a Bonding Agent
Apply a bonding agent to the area to ensure the new plaster sticks properly. Follow the manufacturer's instructions for application and drying time.
5. Mix the Plaster
Mix the plaster according to the manufacturer's instructions. Aim for a smooth consistency free of lumps.
6. Apply the New Plaster
Using a float trowel, evenly spread a layer of plaster over the prepared area. Ensure it is smooth and blends seamlessly with the surrounding surface.
7. Cure the Plaster
Follow curing guidelines as per the product to avoid cracking and ensure durability. This usually involves keeping the area moist.
8. Final Inspection
After curing, inspect the repair to ensure it's even and consistent with the rest of the pool surface.
Maintaining Your Pool Plaster
Regular maintenance is crucial in prolonging the life of your pool plaster. Here are some tips:
- Regular Cleaning: Keep your pool clean to prevent stains and buildup.
- Monitor Chemical Levels: Regularly test and balance the pH, alkalinity, and chlorine levels.
- Visual Inspections: Routinely check for signs of wear or damage.
- Professional Maintenance: Consider annual check-ups by professionals to catch potential issues early.
Conclusion
Repairing plaster in pool areas is an essential part of pool ownership. Being proactive about repairs and understanding the importance of maintenance can save you money and enhance your pool's appearance for years to come. Whether you decide to tackle the repairs yourself or enlist professional help, the best time to take action is now. Your pool deserves to be the sparkling centerpiece that you always envisioned.
For more information and expert guidance in pool maintenance and renovations, visit poolrenovation.com.